Property Services Blog
Here we share some tips and tricks to for your property care and maintenance specifically geared for mountain properties of Summit and Eagle County

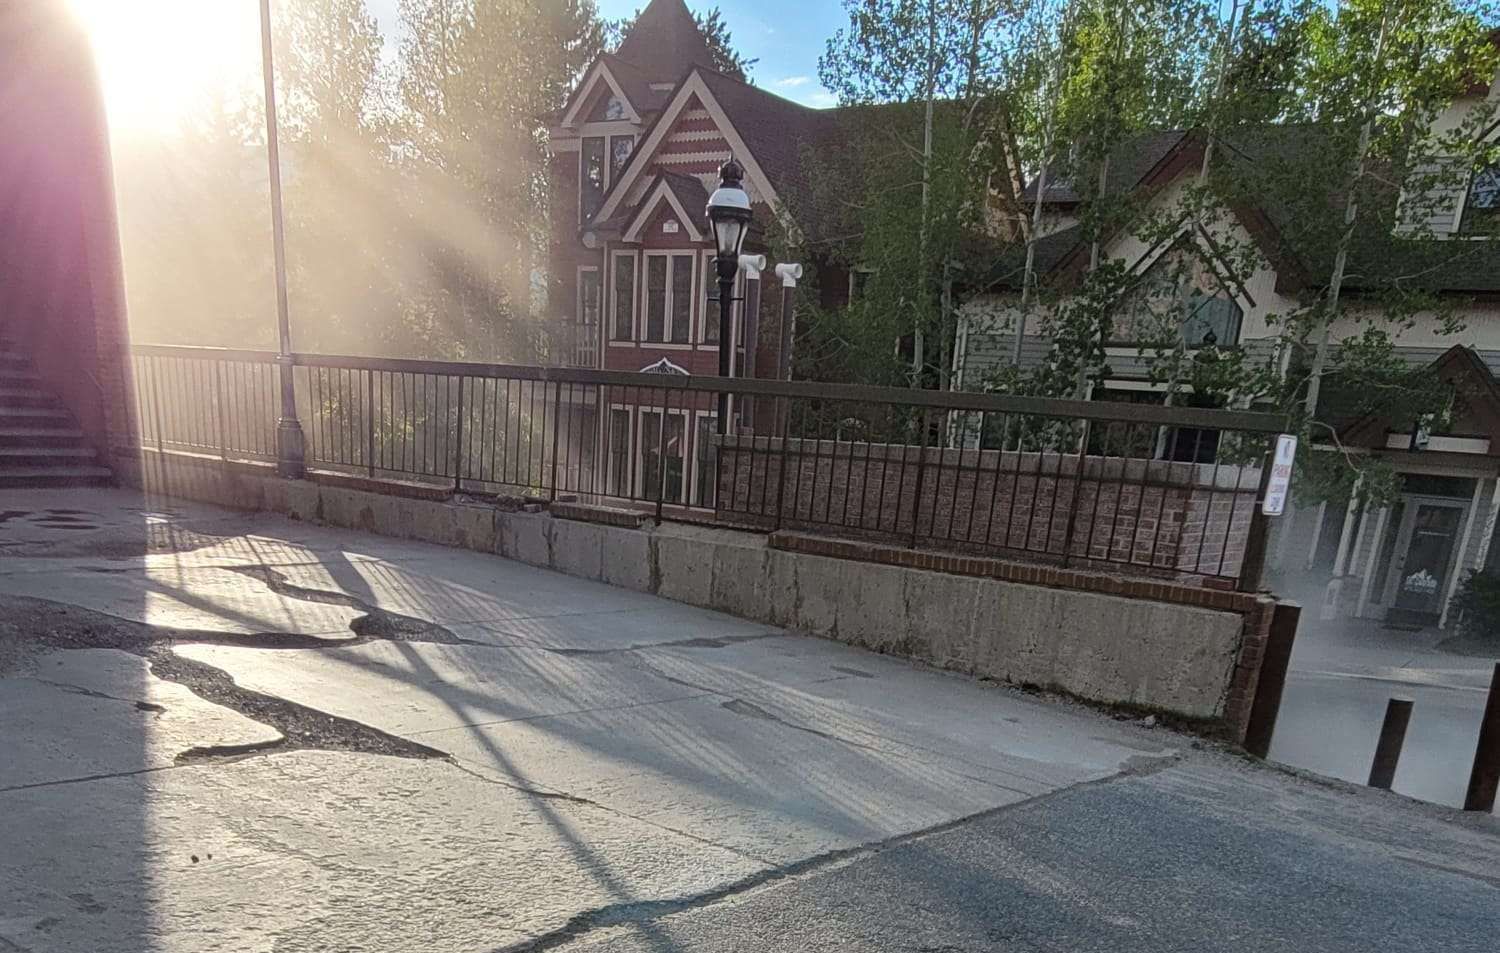
Make Sure Your HOA Property is Ready for Summer: Full Inspection Prep Guide
The Heart of Home Improvement in Colorado's Mountain Communities

When Saving Money Costs You More
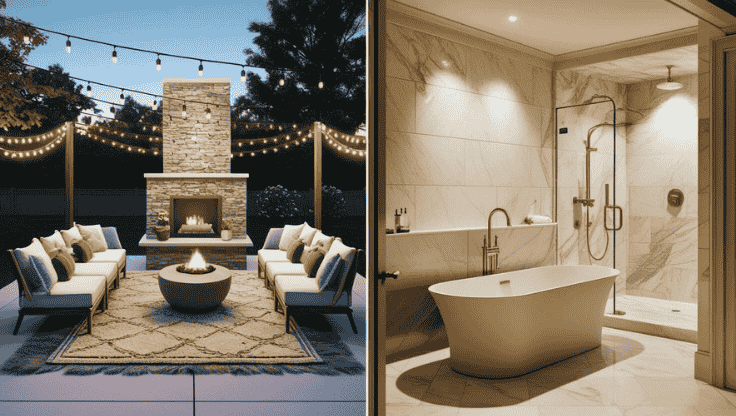
10 Signs It's Time to Renovate Your Eagle County Home

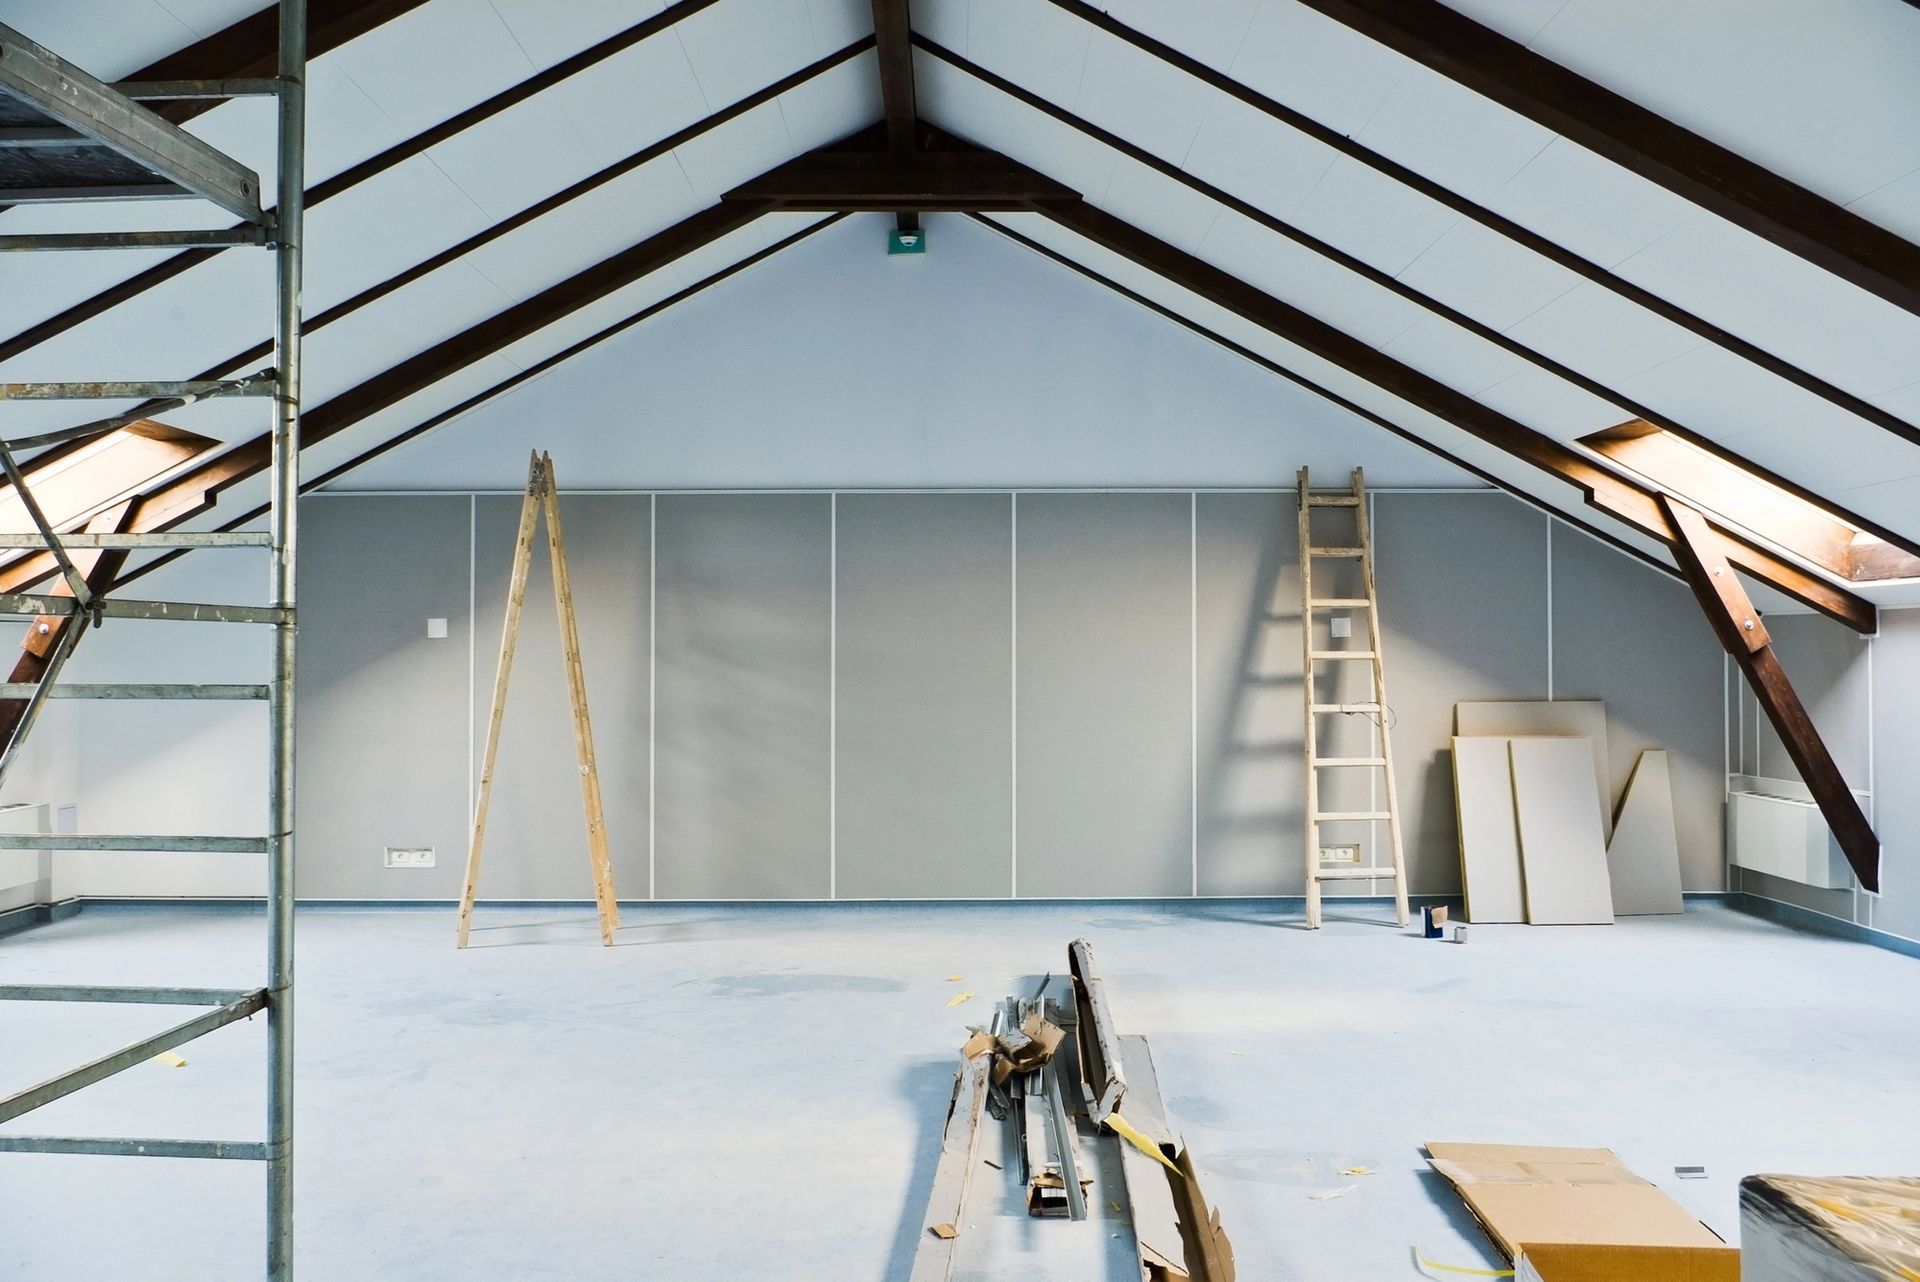
Considering renovating your mountain property in the Colorado Rockies? Whether it's a cozy cabin in Breckenridge or a spacious retreat in Frisco, high-altitude renovations present unique challenges that require specialized knowledge and expertise.
As winter fades and spring in Colorado approaches, homeowners and property managers should begin preparing for seasonal property maintenance. With high demand for services like landscaping, pressure washing, exterior painting, and irrigation setup, scheduling in advance ensures your property gets the care it needs without delays.
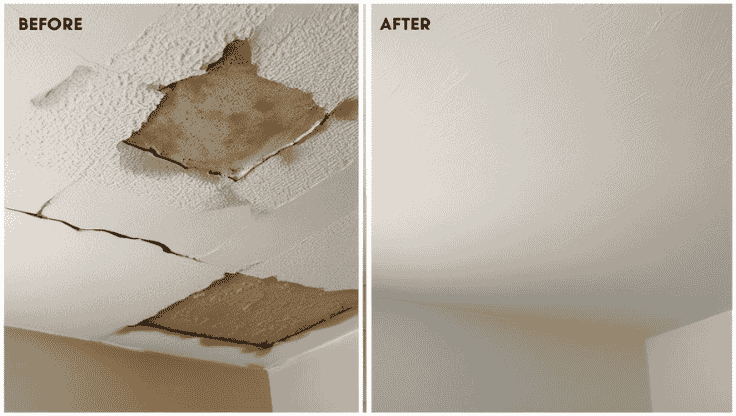
We’re diving into a crucial step in drywall installation: taping and mudding. This is where many people hit a snag, but with the right tips and tricks, you can achieve a flawless finish just like the pros. Let’s get started!
If you’re considering a new look for your office, retail store, or restaurant, remodeling can breathe new life into your business. In this comprehensive guide, we’ll explore everything you need to know about commercial remodeling, from its benefits to key considerations and popular trends.
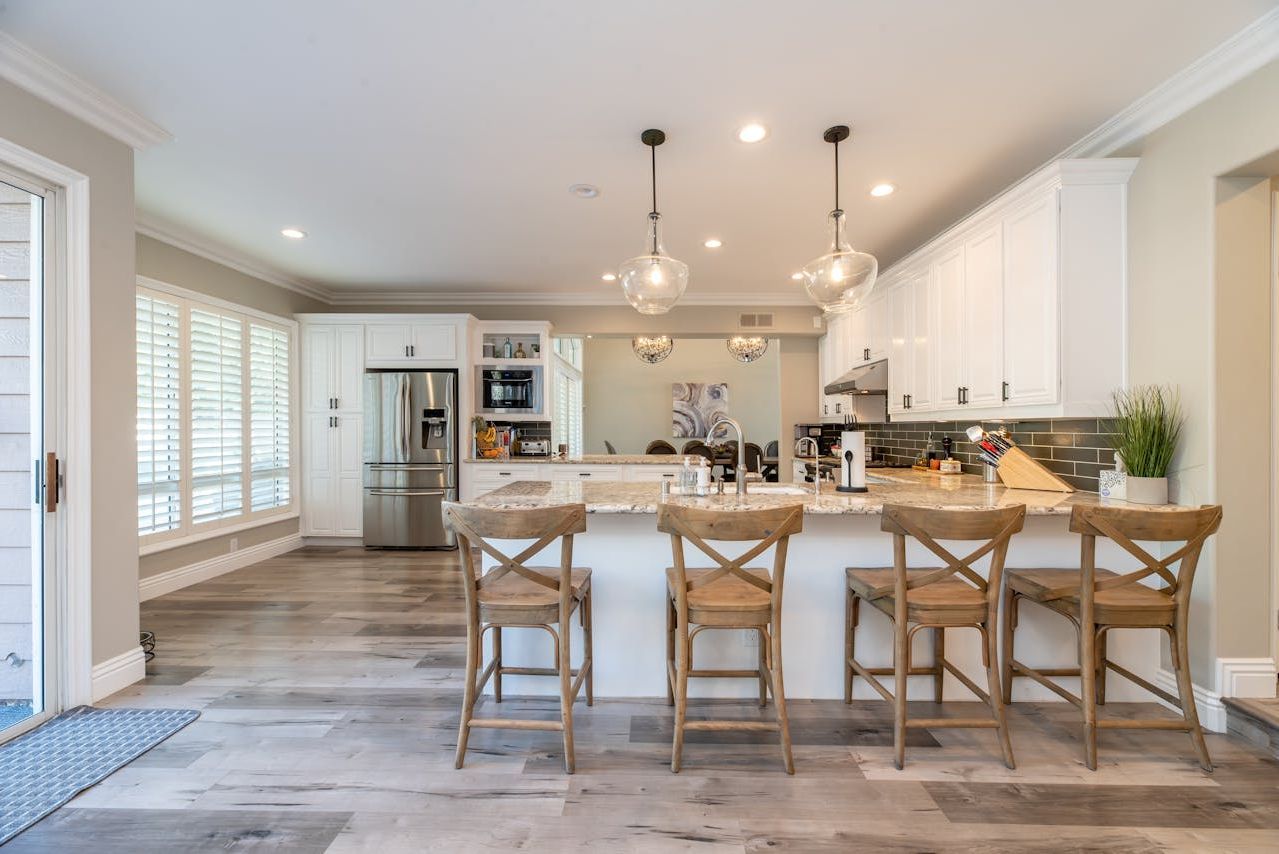
In the world of interior design, few elements offer the timeless allure and enduring elegance of hardwood floors. From the classic charm they have to their practical advantages, hardwood floors have remained a staple choice for homeowners and designers alike. Let's explore the timeless benefits that hardwood floors bring to any space.
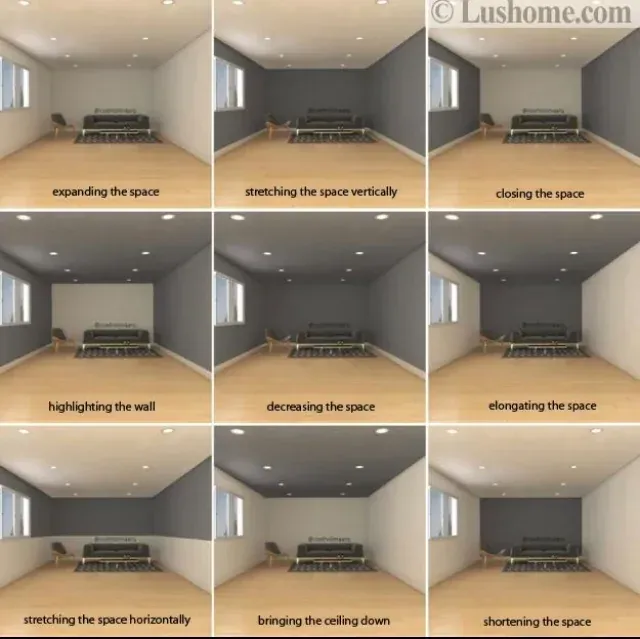
Walking into a room can strike up various emotions and perceptions, influenced by its size, layout, and atmosphere. However, one often overlooked aspect that significantly impacts these perceptions is the choice of paint. The colors we paint our walls can play a profound role in how we perceive space. Let's dive into the art of painting and explore how different paint choices can affect the perceived size of a room.