Expert Drywall Tips from Summit County Property Services
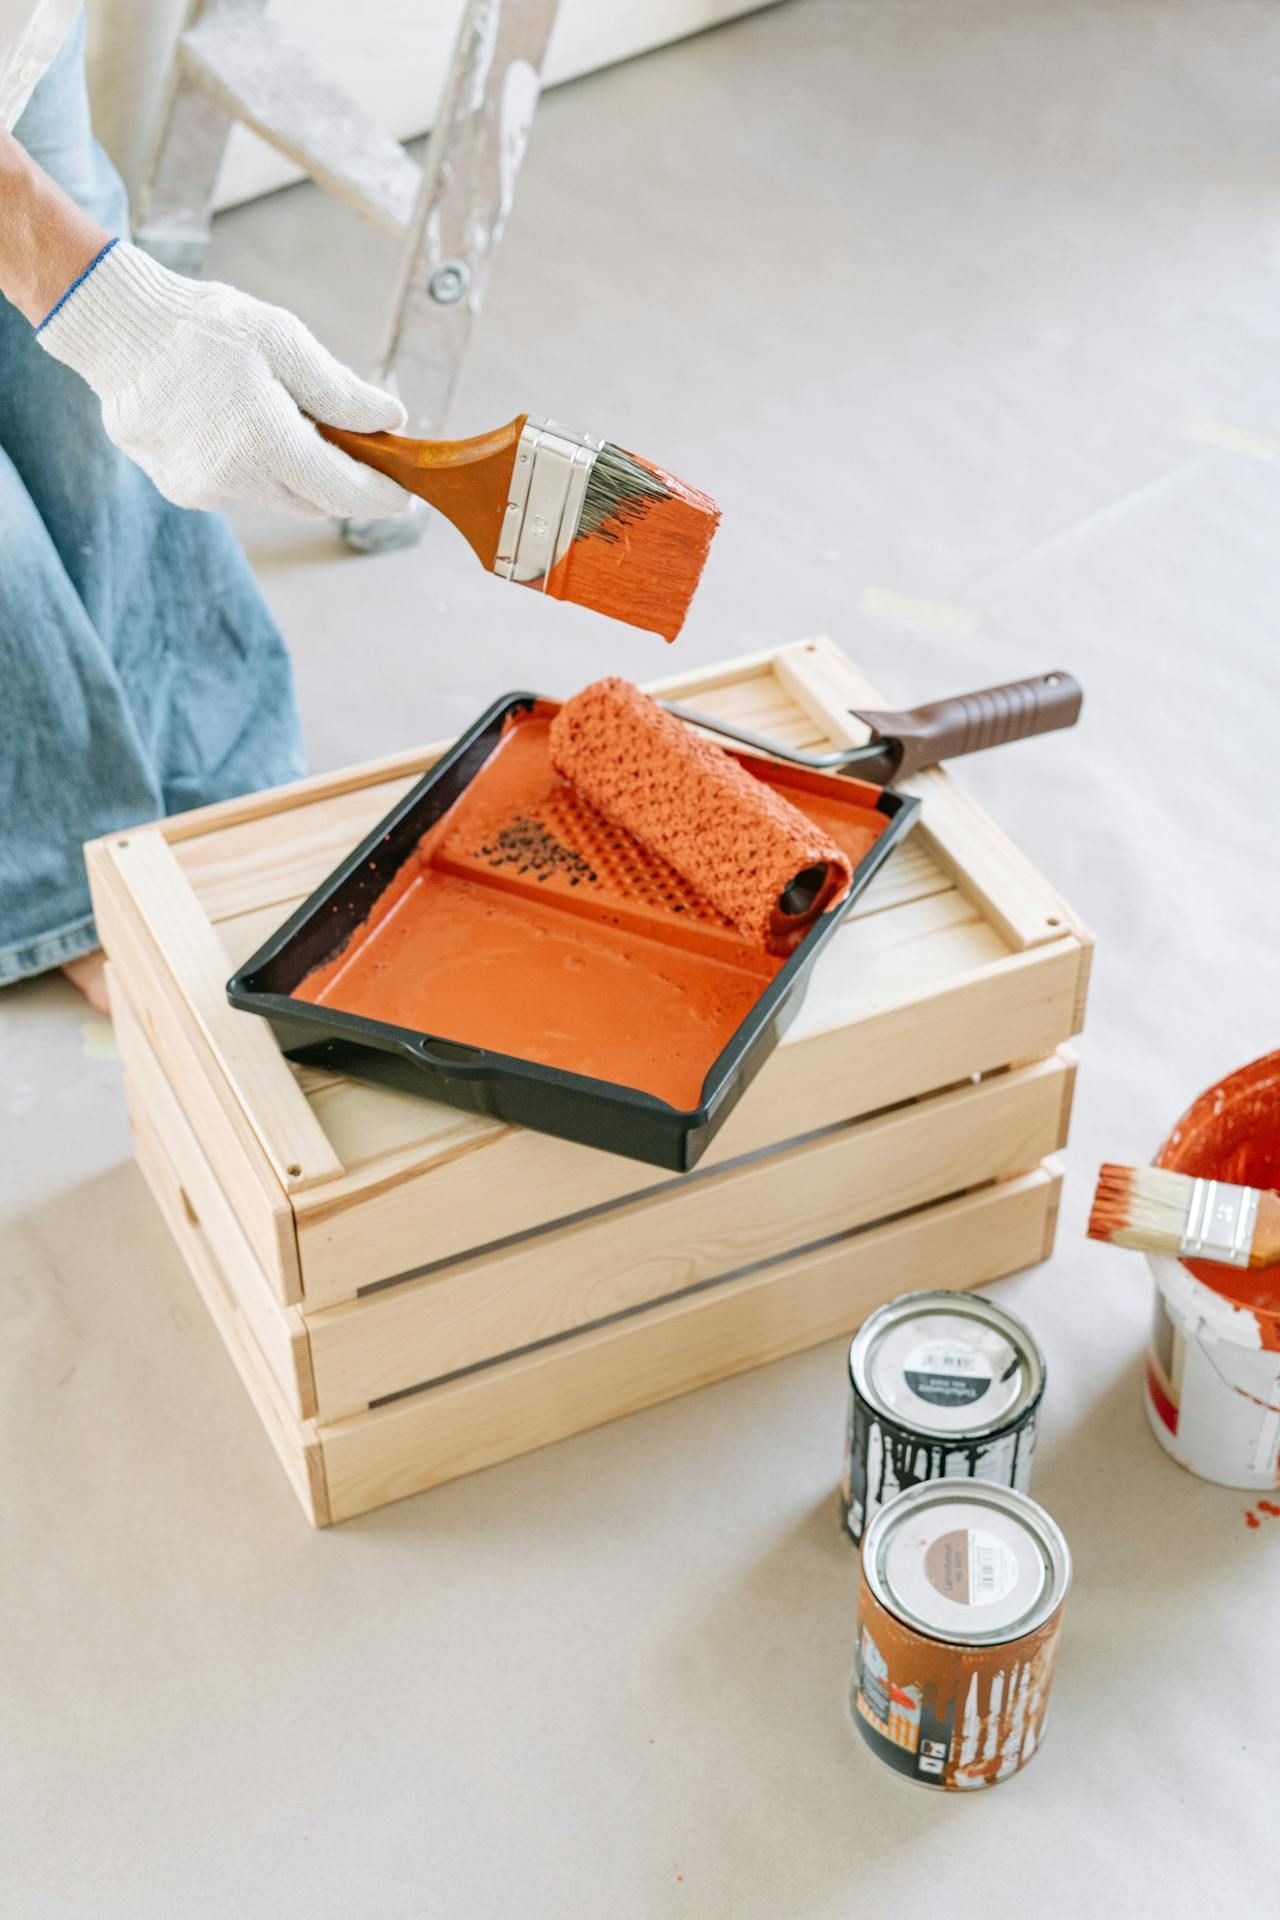
Welcome back to the Summit County Property Services blog! We're here to share some valuable insights into one of our main remodeling projects. Today, we’re diving into a crucial step in drywall installation: taping and mudding. This is where many people hit a snag, but with the right tips and tricks, you can achieve a flawless finish just like the pros. Let’s get started!
Materials and Tools: Keeping it Simple
To begin, you don’t need an extensive toolkit—just the essentials. We use two types of compound: a setting type and a pre-mixed type. The setting compound is great for pre-filling gaps, especially in areas where old and new drywall meet. We recommend using stainless steel knives (6-inch, 8-inch, and 12-inch) and a stainless steel pan—these will last longer and provide a better finish.
Understanding Compound Types
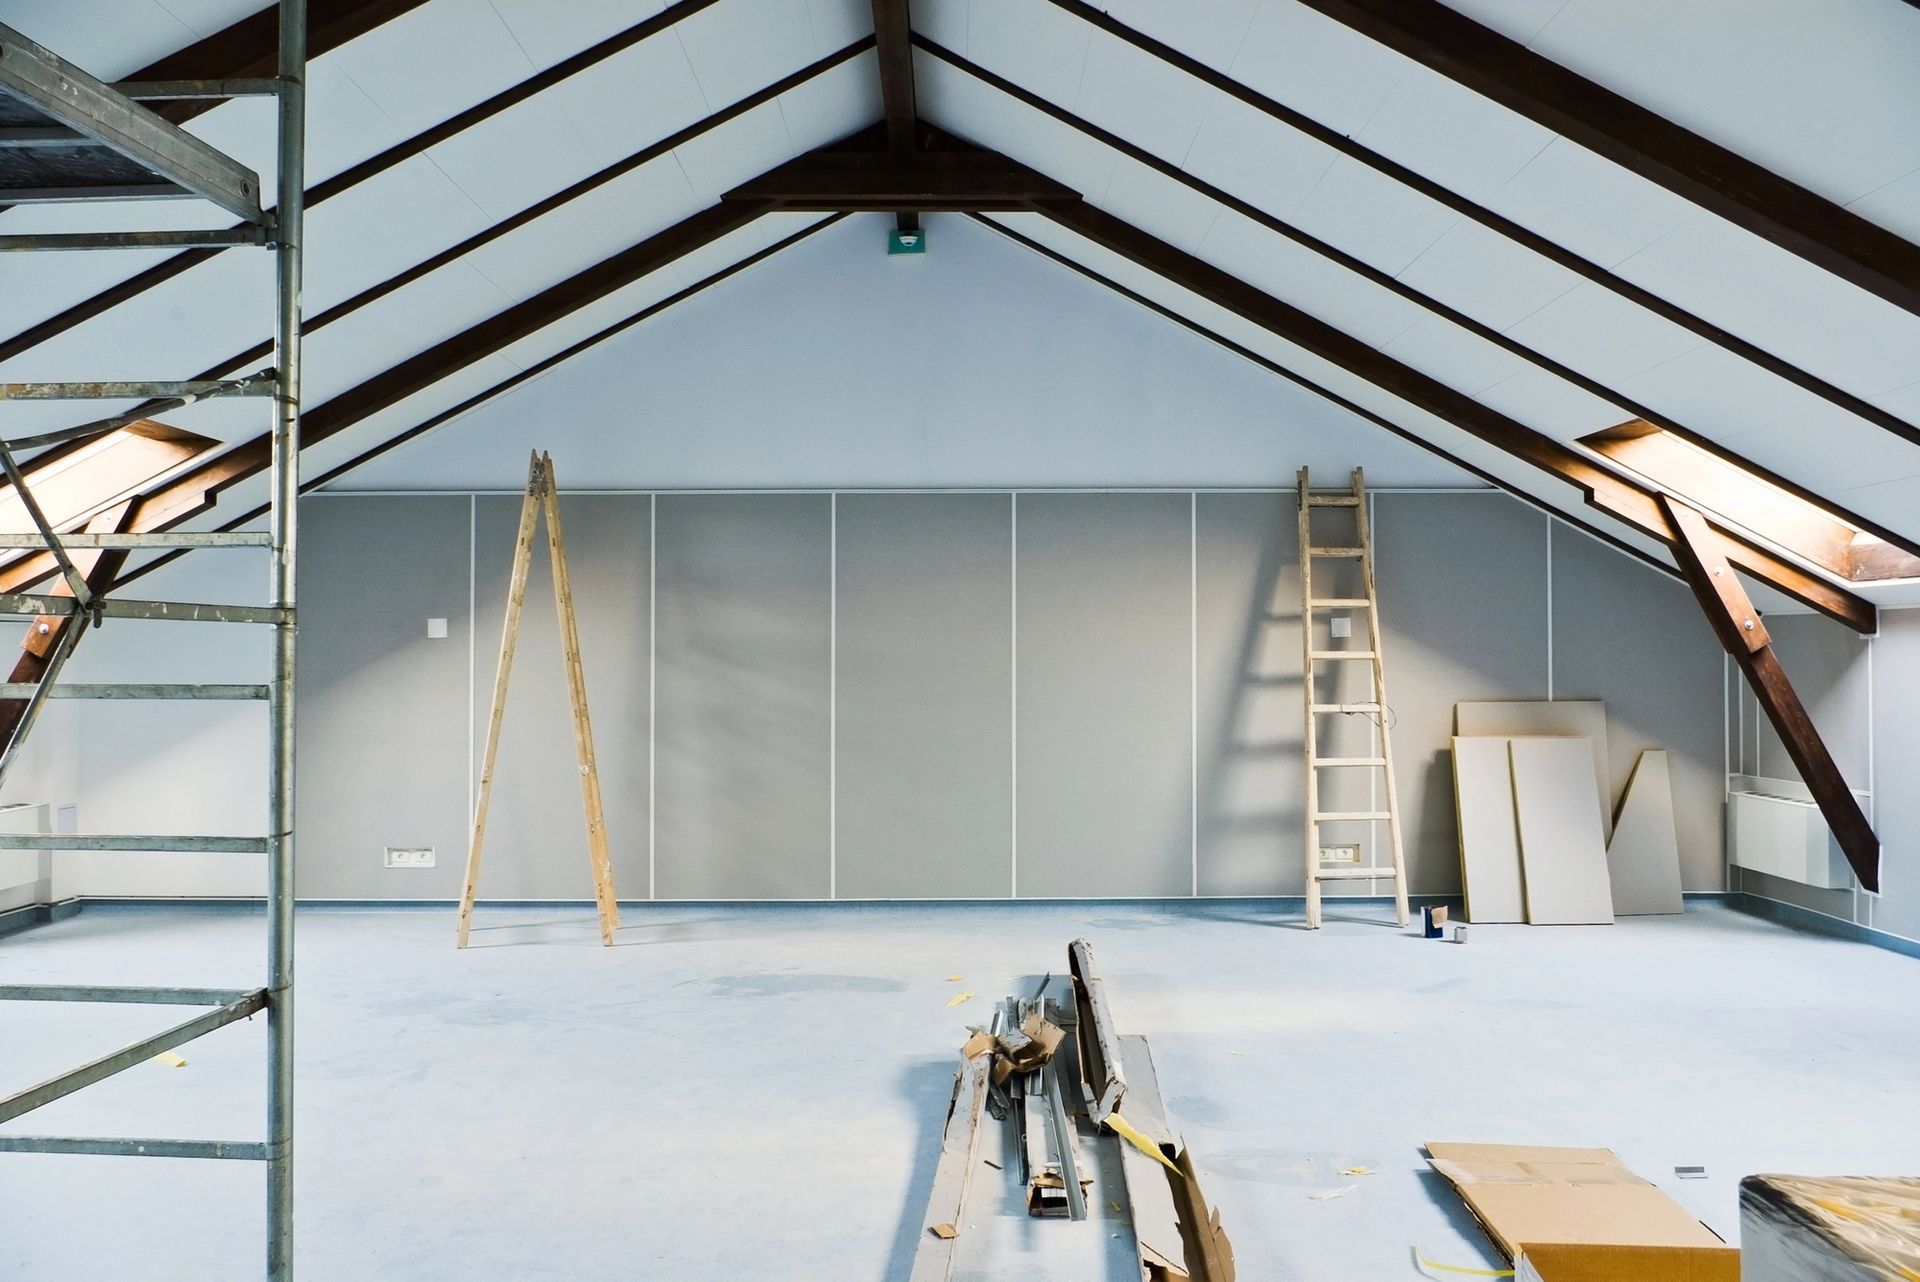
When working on a remodel where drywall is hung by hand, gaps are inevitable. This is where the setting compound shines. It’s a powder mixed with water and sets quickly, making it ideal for repairing drywall because it minimizes shrinkage. Pre-mixed compound, on the other hand, is lighter and easier to work with, perfect for the taping and mudding process.
Pre-Filling: A Crucial First Step
Before you start taping, it’s important to pre-fill any gaps larger than 1/8 of an inch. We use the setting compound for this task because it cures fast and doesn’t shrink much. After filling, we allow it to cure before moving on to taping and mudding. This ensures a solid foundation for the tape and helps prevent cracks in the future.
Mixing the Compound: A Key to Success
Even if you’re using pre-mixed compound, it’s essential to remix it before use. This ensures a smoother consistency, making it easier to apply. We use an egg beater-style mixer for drywall compound—it’s smooth and doesn’t scrape the bucket, preventing debris from contaminating your mix.
Taping and Mudding: Tips for a Professional Finish
When taping and mudding, start by applying a thin, even layer of compound to the joint. Be sure to use the fuzzy side of the tape against the wall for better adhesion. After embedding the tape, skim off the excess mud, ensuring a clean, smooth surface. Remember, less is more—over-application of mud will only lead to excessive sanding later on.
Handling Joints and Corners
For factory edges, start by laying down the compound and embedding the tape in one smooth motion. For butt joints, where the ends of the drywall sheets meet, feather the compound out further to ensure a seamless blend. Inside corners require careful application of mud on each side before embedding the tape, while outside corners benefit from paper-faced corner bead for added durability.
Final Thoughts
Drywalling is a skill that improves with practice, but with these tips, you’re well on your way to achieving a professional finish. Whether you’re tackling a small repair or a full remodel, remember to take your time and follow these steps for the best results.
Stay tuned for more expert advice from Summit County Property Services, where we’re committed to making your renovation projects as smooth as possible!
Need help with your next renovation? Contact us at Summit County Property Services—we’re here to bring your vision to life!
Ready to work with Summit County Property Services?
Let's connect! We’re here to help.
Send us a message and we’ll be in touch.
Or give us a call today at 970-471-7846
Agency Contact Form
Summit Property Services Blog